 The Sony Xperia Z3 adopts a very familiar design to the Xperia Z2, therefore it’s perhaps no surprise to see that the method to disassemble the phone is broadly similar. We’ve included some teardown pictures for the IP65/IP68 rated Xperia Z3 below. Once again, seeing these pictures makes us really appreciate the effort taken in both design and engineering. Check out all Xperia Z3 disassembly pictures below.

First of all, the back cover needs to be removed. This is done by heating the back cover and then using something like a guitar pick on the edges to remove the shell.

Once the back is removed you can see the internal components of the Xperia Z3.

Here you can see the foam rubber along the edges, which helps to keep the handset water resistant.

The 3100mAh battery can be removed by disconnecting it from the plastic strip that has a small amount of glue attached to it. The motherboard connector can also be removed.

Both sides of the motherboard have a small sheet of plastic that needs to be removed.


Once the black plastic sheet is removed, the motherboard can be removed.

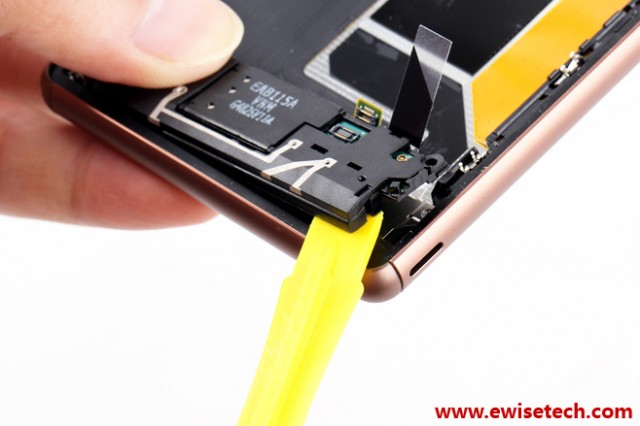
Now you can remove the bottom of the phones main antenna module by removing two screws that hold it in place with the frame. This module also integrates the speaker.
Here you can see the 3.5mm headphone jack module as well as the waterproof foam rubber.
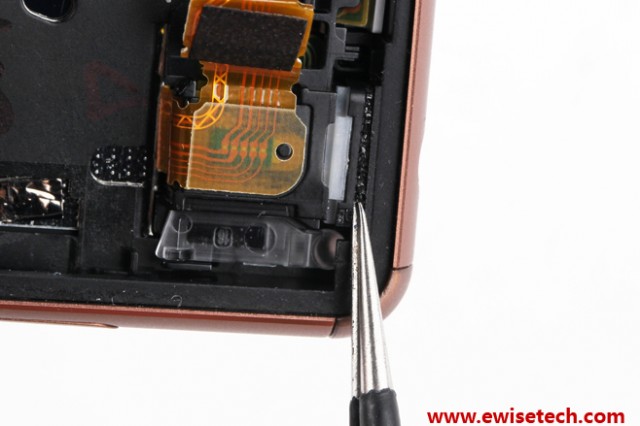
The 3.5mm headphone jack can be removed.

The phone uses plastic reinforcements on the side of the phone.

The touch screen display is fixed using a fixed metal ribbon cable.
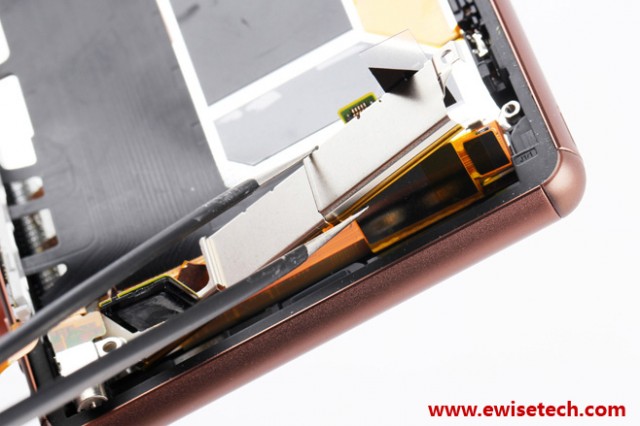
Here you can see the heat pipe cooling technology as originally seen in the Xperia Z2. This helps to dissipate heat for intensive processing tasks.

This image shows the Xperia Z3 soft board with connectors for integrated side buttons, vibrator, microphone and a three-axis electronic compass.

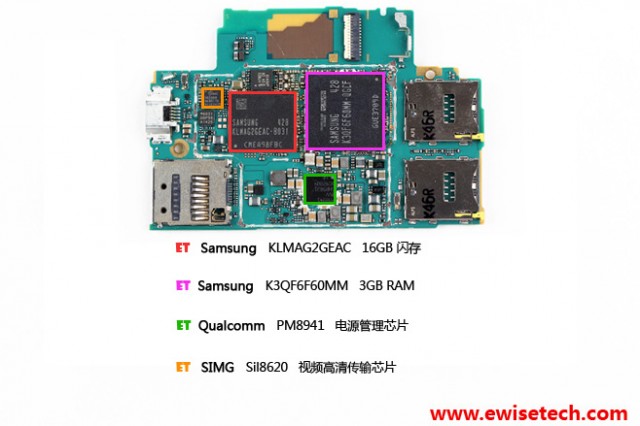
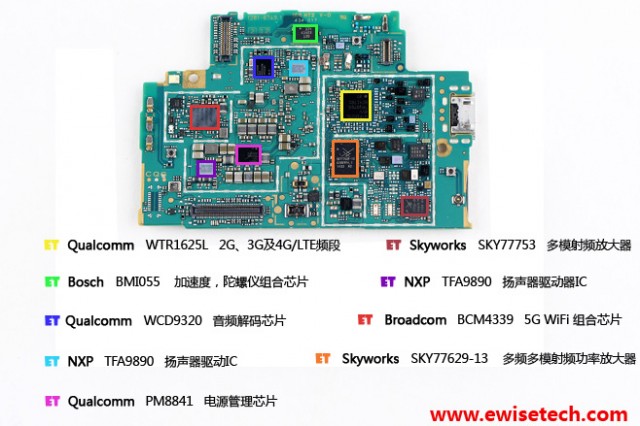
Here you can see the component chip parts used including RAM, chipset and internal storage.
This picture shows some of the wireless components.
Finally, you can see all of the Xperia Z3 parts in one picture.

Via eWisetech [via MyFixGuide]
Thanks David!


 hits the Xperia Z2 and Z3 series")
