Grim Fandango Remastered walkthrough (2015): PS4, PC, Vita, Mac
Our complete step-by-step walkthrough for the remastered classic.

It's been more than fifteen years since Grim Fandango, Tim Schafer's beloved tale of the dead, was originally released, but this week sees the title resurrected for PC, Mac, PlayStation 4 and Vita. If you missed it the first time around, you owe it to yourself to take advantage of this second chance to experience the game.
Visually the game's been given a fresh lick of paint, but the late 90s gameplay remains entirely unchanged from the original. What that means in practise is that the feast of interconnecting puzzles contain more than a few morsels that are difficult to digest. Should you find yourself frustrated, we've got a year-by-year walkthrough that will lead you through even the most obscure elements of the game.
On this page
Grim Fandango - Year 1, work order, balloons, beavers, pistons, signpost, message system
How to complete the first year of Manny's adventure, from making new friends to tricking the office support staff, and solving a pair of tricky puzzles in the Petrified Forest.
Other pages:
Grim Fandango - Year 2, metal detector, forklift, VIP pass, betting slips, dog tags, baster
Things good a good deal trickier in Grim Fandango's second year. We'll walk you through every fiddly puzzle, including how to get your hands on that bloody metal detector.
Grim Fandango - Year 3, anchors, locked door, crane, stockings, Bust-All, hammer, axe
Our walkthrough continues into the third year, where you'll have to juggle anchors and cranes, then solve a fiddly door puzzle before making a break for freedom.
Grim Fandango - Year 4, grinder, bomb, nitrogen, alligator, rag, toaster, disguise, sign
How to make it back to Rubacava alive, disarm the Bone Wagon bomb, get past that cantankerous crocodile, and survive the game's final showdown.
Grim Fandango Remastered walkthrough - Year 1
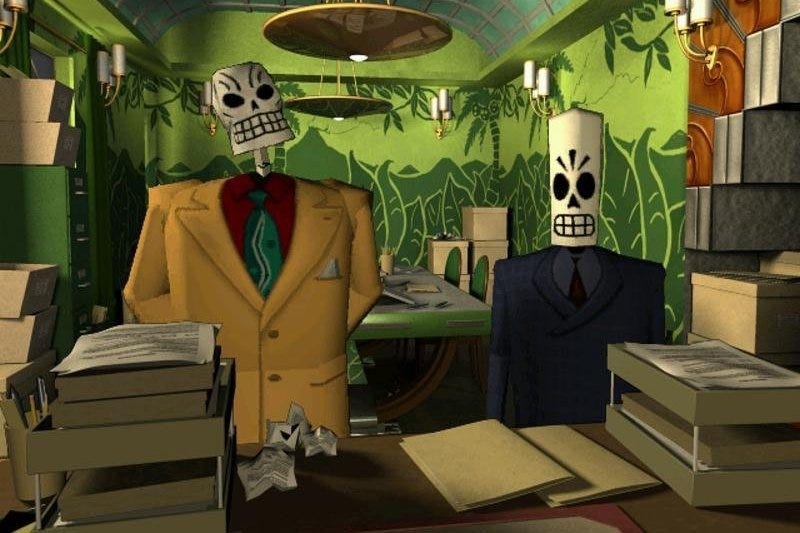
The start of the game sees you stepping into the dapper shoes of Manny Calavera. You first task is to head over to the message tube near the window and grab the note that's inside it. Once you've listened to the message, take the deck of cards that are on the table, leave the office, then walk down the corridor and go past Eva who's looking after reception. Head towards the lifts over to the left, then take the left-hand lift all the way down into the parking area.
When you get down there and Domino has sped off in his car, walk over to the far corner of the parking area and knock on the office door. You'll find yourself talking to a big chap called Glottis. Next, work your way through all of the dialogue options until he coughs up a work order for you.
Get the work order signed
That work order needs to be signed before you can do anything with it, so make your way back up to the reception area and hand it over to Eva. She'll try to get it signed off for you but won't be successful. For now, head down to the main lobby of the building by using the other lift, then walk around the building until you can see a piece of rope hanging down. Climb up it, then make your way through the open window when you come to it. You'll find yourself in the boss's office.
If you investigate his PC, you'll discover that he's wired up his telecom to automatically answer Eva whenever she buzzes him. Alter his response so that Eva will believe she can sign off the work order, then go back down the rope and head inside the building. Eva will now happily sign your work order for you. Once in the Land of the Living, simple swipe your scythe on the body bag, then prepare to be whisked back to your office when the cut-scene's over.
Once back at base, go to Eva's desk and use the deck of playing cards you picked up earlier on the hole punch. Next, make your way back down to the lobby, and try to go outside. When the angry new demon character has finished complaining about people abusing the message carrier system, head outside and make your way towards the nearby clown.
Use balloons to sabotage the mail system
Get a balloon cat and two "dead worms" from the clown, then take some bread from the stall next to him and head back to Manny's office building. Enter the new room on the lobby level, then use one of your worm balloons on the red hose. Next, use the other worm on the blue hose.
Now go to Manny's office and shove both of the stuffed balloons into the message tube system. Head back down and enter the pink demon's room. Use the bolt on the door to stop it from closing completely, then speak to the demon. During the chat, Manny will grab a fire extinguisher from the wall. The demon will then warn you about using it and causing an explosion.
When you leave, the demon will follow you and believe he's closed the door behind you both. You know better because you fiddled with the lock. Go back inside and use the card you punched earlier on the red tube to get a new client: Mercedes Colomar. Inform her that you need to investigate the case, then return to Don Copal's office.
He'll come charging out of his office and drag Manny back inside. Your new client was supposed to take a first-class ticket through the afterlife, yet Manny's ineptitude has caused her to end up wandering around the Petrified Forest. When he's done with you, you'll be locked up in Glottis's little hut downstairs.
Knock on the door and wait for someone to answer. Work through the dialogue options until you meet Salvador Limones. You'll be taken to the headquarters of the Lost Souls Alliance. When you get there, work through the new dialogue with Salvadore until you have a new task to complete.
Climb up that rope once again, then walk around the corner until you come to Domino's empty office. Sneak into it via the window, then hit the punch-bag inside until you get a blue mouthguard. Take it, walk over to the desk, then take the piece of coral from the drawer. Leave the office via the same window you crawled in through.
Make your way back to the rope and grab the other end of it. Tie the coral to the rope, then throw it towards the ladder. You can now make your way across to the ladder and climb all the way up onto the roof. Walk along the roof until you come to a ventilation point. Use the cat balloon on the bowl here, then use the bread from the stall by the clown on the bowl. When the birds come over to nibble on the bread, they'll burst the balloon and be startled enough to fly off. You can now nab their eggs.
Head back down to ground level, then go inside the garage and make your way towards Glottis's back office. Remember that blue mouthguard you picked up earlier? Use it on the filling machine here, then get Manny to bite down on the item so that you create a dental impression.
Head back outside and interact with the blue spot on the wall by the garage. This will grant you access back into the headquarters of the LSA. Hand the eggs over to Salvadore, then the mouthguard to Eva. At this point, Sal will lead Manny along a path towards the Petrified Forest.
Keeping walking along until you come to Glottis, who you'll soon discover was recently sacked. Somewhat disturbingly, Glottis will tear his heart out in despair, and throw it into the forest. Make your way towards the landing spot, grab the bone that's in the pile by the spider's web, then use it on the web itself.
Solve the pump puzzle in the Petrified Forest
Next, use Manny's scythe to free Glottis's heart. Head back to your slumbering chum and put the heart back in his body. When he wakes up you'll find yourself whizzing along in the Bone Wagon.
Drive right to reach a machine that requires you to solve a puzzle. The pistons on this pump must be synchronised so that the left-hand pair move together, and in the opposite direction to the right-hand pair - also moving together. The wheelbarrow can be used to block the air flow to each piston, allowing you to synchronise everything. Take your time.
When you're done, drop the wheelbarrow, use the switch and wait for Glottis to climb up the tower. While he's tinkering with the mechanics, switch the machine on again. Exit the Bone Wagon and grab the sign that's on the floor, then take it off in a north-westerly direction.
Use the signpost in the Petrified Forest
To solve the next puzzle, you need to pop that sign in the ground and then head off in the direction indicated. When you've moved a little bit further away, plonk the sign down again. Repeat this until you find yourself in an underground cave.
Read the sign that's in one corner of your screen. When Manny's finished, he'll shake it to loosen the key and put it in his pocket. Leave the cave, get back into the Bone Wagon, then head up the hill that's over to the north-east.
Go through the door and watch Manny be chased back out again. Go back inside and then head towards the bridge in front of you. Take a bone from the beaver dam, then go down the path over in the left-hand corner of the screen. Throw the bone into the icky river here, then immediately use the extinguisher you grabbed earlier to put the flaming beaver when it leaps off. Once you've dealt with three beavers this way, you'll be done with this section.
Now head back in the direction of the Bone Wagon and look for a lock to the left of the door. Use the key you grabbed earlier, and you'll automatically begin your journey to Rubacava. On arrival, go up the stairs and enter the diner. Work your way through the dialogue options with Celso.
When you're done, Celso will hand you a photograph. Go downstairs, then take a left and enter the fog. At this point, Manny will fall off a cliff and be rescued by Velasco. Catch up with him, talk through all the conversation options, then show him the photo. He'll give you a log which you need to return to Celso, after which you'll be ready to start the second year of the game.