
The half-pressed shutter switch position on my Sony DSC-H5 recently stopped working, which seems to be one of two common failures. The other, a broken switch shaft, happened to Tee’s camera, as described there, and I figured I should preemptively fix that while I was inside my camera.
This being a common failure, several folks have described how to dismantle the camera; I followed that guide’s English version.
The DSC-H5 differs slightly from that description. After I got the thing apart, it became obvious that there’s no need to remove the LCD panel, the main control board, and most of the ribbon cables if you have a Philips #0 or #00 screwdriver with a very thin shaft. There’s no way to describe this operation, so take it apart his way, then you’ll see what I mean: the guts can come out as one big lump.
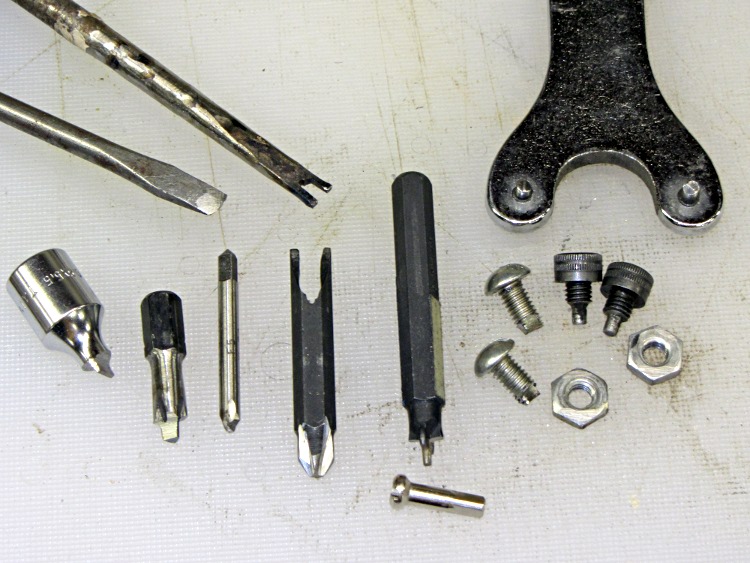
In any event, all the camera controls eventually emerge from the body:

Looking back into the camera body reveals the bottom of the shutter button, captured by a static discharge contact and the gray plastic frame of the Focus / Break button caps:

Removing the pushbutton frame and pushing the left button bezel latch with a small flat-blade screwdriver extracts the shutter button; it falls out of the inverted body. This is one of the few intact DSC-H[1-9] shutter buttons you’ll ever see:

Those rectangular protrusions lock into the slots in the black plastic cap that appears almost silver in this front view that shows the dimple in the switch membrane:

You must remove the cap to release the flex PCB with the shutter switches. Two heat-staked pins retain the cap; a scalpel neatly slices off the melted plastic:

Nota bene: the DSC-H1 button bezel I repaired earlier does not have features that lock into the cap over the switch assembly, which means you can remove and replace it without disassembling the camera. You cannot remove or install the DSC-H5 button without taking the camera apart. I suppose this counts as a continuous product improvement, but …
The shutter switch has two parts:
- The full-press switch that takes the picture (the white dot on the blue flex, shown above)
- The half-press switch that triggers the focus & exposure is in a black plastic tray (seen edge-on above the white dot)
The bottom of the half-press tray has a small nub that activates the full-press switch, so the force required to activate the half-press switch must be considerably less than the force that activates the full-press switch. This turns out to be a critical part of the repair…
A closeup of the half-press switch with the protective cover sheet (the “damn confetti” of the disassembly instruction) and the dimple that held the contacts together with the button released:

A closeup of the switch through a snippet of PET plastic shows the switch membrane itself is in fine shape:

However, the new plastic shield did not work out well, for reasons having to do with the new button plunger. That’s the next step: rebuild the plunger…

“Don’t be afraid to disassemble your Leica M2 / M3 / M4, it’s easy! You can clean and lubricate the camera without actually disassembling any of the tricky bits.”
http://www.jumboprawn.net/jesse/cams/gear-profiles/leica-m2-overhaul/leica-m2-overhaul.html
Like these…
I admit it’s easier to dig into a gadget that’s not working; ripping up a functional Leica would pucker me right up.
A trace of silicone oil on your finger tips will help keeping them in shape :-)
That reminds me my better half has soaked my VX7 in mineral water on her EU trip, the repair shop wanted 150 pounds !! I can buy a new one for that price here.
Or just dunk it in a tub of plain water, swish it around to clear the lens, and use it for underwater photography… [grin]