
Hello, everybody! I have been sleeping a lot better these days since I gave my resignation letter. I have been dreaming of things that could have been such as my high-school sweethearts. I felt like a teenager again but when it is time to wake up I am reminded that the women I just dreamt of were all married like me and they now look like Mama Fratella in Facebook! Today, I am going to show you a dream of mine that did come true, unlike the girls I dreamt of, it’s still just as pretty as the day I set my eyes on it in 2007.
Introduction:
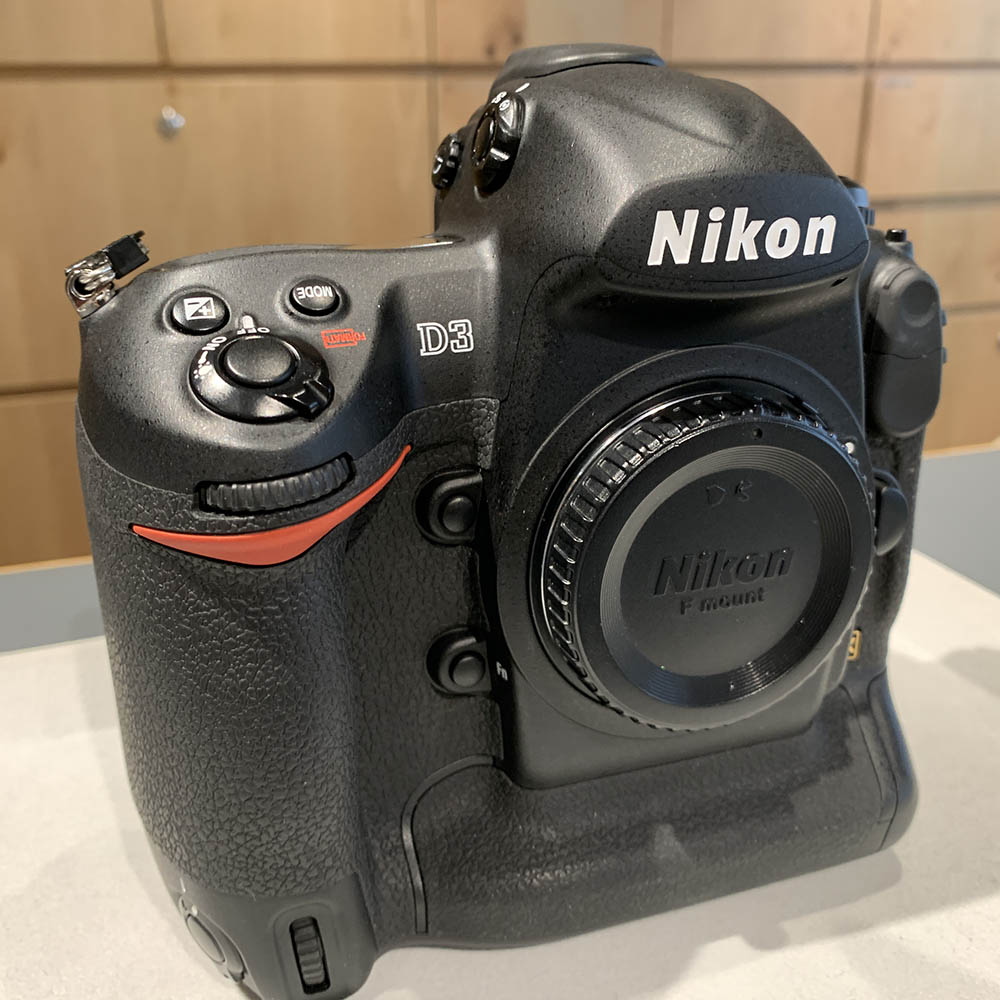
The Nikon D3 was introduced in 2007, it is Nikon’s first full-frame DSLR and it created a big wave with its then-amazing image quality. It was considered to be the best that Japan could offer in terms of high-ISO performance and it challenged the status-quo of the time which was to go for higher-MP count. I remembered how much of an impact it created, suddenly, Canon is not the only company that has a professional-grade full-frame DSLR. Not only that, I also remembered how many professionals were talking about going back to Nikon just because of how well it performed. It was an exciting time. It was all thanks to the hard work of the engineers at Nikon. That was in 2007 and it’s almost 2021 now so how does it compare to today’s cameras?
This is a masterpiece, it’s certainly one of the most important cameras to be ever sold. I said that because the trend back then was to go for high-tech at the cost of other things that actually matter such as good dynamic range. It challenged that trend, mostly set by Canon by being both high-tech and also being able to give files that still hold pretty well to today’s standard. It has a great image processor, something that I always go back to even today.
I didn’t own one back then but I had the Nikon D700 which is merely a baby Nikon D3. It has the same sensor but some said that it has a different image processor so the results are a bit different but I doubt that it makes any real difference. I love the files this sensor creates (with a Nikon D700), nearly all of my published photos were shot with my Nikon D700. For me, it gave me a look that’s absent since the Nikon D7000 and Nikon D4 came out. I had both and I know those cameras very well. The look that I got from my Nikon D90 and Nikon D700 were amazing, there’s something intangible about the files, something about the old sensors and image processor made my photos look more like real photographs, taken with film. I don’t know if it’s just me but I could actually feel that the photos from the older Nikon DSLRs have more of that special sauce that makes me gravitate towards them. Is it the colors, its white balance or even the chunkier-looking details? I don’t know.

Here’s an example of what I was referring to. There’s something about this photo that I couldn’t quite get with newer cameras. It almost looks like this was taken with slide-film, something like Fujifilm Provia.

I don’t have my Nikon D700 with me since 2012 but seeing these results had me almost in a state of nostalgia, it felt like meeting your high school crush after decades of not seeing her and she still looks great today (the reality is quite the opposite, mind you). True, the files may not have the best dynamic range out there but they have more “soul” in my opinion. The pictures look more film-like, is it because of the color-curves? I don’t know.

The colors look more saturated and the white-balance is perfect. This is why I am addicted to it, getting back to an old addiction is good if it’s healthy.

Having mentioned the above, not all of Nikon’s cameras from that era were perfect. In fact, a lot of them suffer from something that’s common to them, foggy LCDs. Nobody could pinpoint the actual cause but I suspect that it has something to do with the adhesive foam used, most likely something similar to 3M’s VHB industrial-standard double-sided foam tape. Humidity or heat may have caused the chemicals of the tapes to evaporate. It could also have been from ambient humidity that got its way into the camera and left some marks as they condense and dry-off. Those do not matter anymore since we are more interested in how to get it fixed.
I never had the chance to own one in 2007 since it was below my paygrade. I got this for $300.00 from Kitamura only because nobody wanted this since it has that ugly cosmetic issue with the LCD. Since I knew that this could be easily fixed (by me) I grabbed the chance and bought it despite me having to leave my job. It’s such a good deal that I would have been stupid to let it go. I have to spoil myself sometimes.
This is probably the best deal today in terms of professional Nikon DSLRs. It could still hold-up quite well despite only having 12MP, you could make up for it with your skill, tools don’t make the artist at all. If you couldn’t afford one despite these selling for around $600.00 these days, get a Nikon D700, it has the same sensor and it may even be better for some people since it has a pop-up flash which I used a lot for CLS. It’s also lighter and more compact, it now costs around $350.00 used. Today is the best day to get one of these but be sure that everything still works fine and avoid those that have the foggy LCD issue.
Before We Begin:
If this is your first attempt at repairing a lens then I suggest that you check my previous posts regarding screws & drivers, grease and other things. Also read what I wrote about the tools that you’ll need to fix your Nikkors.
I suggest that you read these primers before you begin (for beginners):
Reading these primers should lessen the chance of ruining your lens if you are a novice. Before opening up any lens, always look for other people who have done so in Youtube or the internet. Information is scarce, vague and scattered (that is why I started this) but you can still find some information if you search carefully.
I highly recommend that you read my working with helicoids post because this is very important and getting it wrong can ruin your day. If I can force you to read this, I would. It is that important!
For more advanced topics, you can read my fungus removal post as a start. This post has a lot of useful information and it will be beneficial for you to read this.
Removal (LCD Protector):
As a warning, the procedures you are about to see should only be done by a person who has experience repairing electronics and cameras. Never do the steps on your own if you don’t know what you’re doing, you will also need a couple of tools to get this done properly. This is a delicate task even for me, I wouldn’t want to do this ever again despite having experience skill or tools required for repairing phones and laptops. A small mistake could cause you thousands of dollars in damage. This is only for your entertainment.
Removing the LCD is the most challenging part of the repair. It was held by strong adhesives and it only reacts with heat. What I am about to show you is not the “official” way of doing things, in fact, this is what cowboys would do so never ever attempt to do this. The proper way is to remove the whole back and uninstall some things and clean the glass from the inside. I do not have the patience and I hate removing any rubber parts since it’s difficult to put it back again without it looking ugly. Remove the batteries and anything else before you proceed.

Use a hairdryer to heat the edges of the glass. It took me about 2 minutes or so. While it’s still hot, use a strong suction tool to pull the glass, use a steady and constant force to lift it. It took me 3 repetitions just to get it to lift up for me wedge a strip of nylon underneath one edge. Leave the nylon strip there and apply MEK (methyl-ethyl-ketone) to the gap, all you need is a very small drop that’s enough to moisten the exposed gap. Apply a little bit more until you are able to lift more of the glass. Repeat the procedure until you’re able to slip your nails underneath it. From there, pry it out carefully using your nails while applying very small drops of solvent. Be very careful with using solvents around this area as it could find its way into the electronics and be the cause of a more expensive project. I have been repairing things since I was little so I knew exactly how much solvent to apply and when to pull on it. Never apply solvent while the glass is hot or you will crack it. Avoid tools that are made of metal or any hard materials. Never heat it for too long, it’s dangerous and you could damage the seals and the LCD panel.

With patience, you’re able to lift enough of the glass to be able to pull it out safely. The glass may flex a bit which is fine but that weakens it so you don’t want to do this repeatedly.
While working with the camera without its protective LCD cover on, place a small piece of cardboard on top of the exposed LCD panel to protect it. This is just the beginning and you want to protect the LCD panel since it’s a very delicate part.
Disassembly (Cleaning):
I spent the most time here since the old adhesive is tough. It certainly is the type that’s meant for industrial-use. This isn’t the cheaper type that you see in many cheap toys.

It’s not at all difficult to remove the old material from the glass protector. It doesn’t react to alcohol or lighter fluid and only reacts with MEK but do not use it to thin it as it will create a mess.

The best way to remove it is to treat it like booger, use your fingers and just push on it and it should roll into a ball and flick it like you’re someone that just got off-the-boat from that country that we all know.

With perseverance you are able to roll all of the old gunk off. To remove the residue I soaked this in alcohol and wiped it clean with lens tissue. Set this aside and keep it in a safe place.

The real challenge is the gunk left at the well on the camera’s body. Use your magic fingers and dozens of Q-tips moistened with MEK to remove anything that’s left in the edges. This took me the most time, almost an hour at least.
This is the most time-consuming and boring step. I rubbed everything until my fingerprints are worn and I picked every bit of old material off. Despite all that work I couldn’t remove everything, I still have tiny bits left around the small corners of the well. The most important thing is to leave the broad surface where the new tape will be attached as clean as possible. Be careful while doing this step, you don’t want to damage the LCD.
Disassembly (Reinstalling):
This step is easy, all you need is some strips of heavy-duty tape. I have in my cabinet several rolls of 3M’s for every occasion. The double-sided tape that I use is the same one used to mount dashcams. It won’t gas or lift even when heated and I recommend these. Clean all the mating surfaces really well, do not leave any residue before you apply the new adhesive.

Apply the tape to the edges and trim any extra material using a sharp knife. Be sure that the tape won’t obscure the view.

Reinstall the clean glass protector, be very careful while doing so as you do not have a 2nd chance. Press on the glass until everything is sealed. Before I forget, make sure that the LCD panel and the glass are all perfectly-clean. It will be frustrating to find dirt or marks only after you have reinstalled this.
The tape that I used is slightly thicker than the original one so the protector is a bit taller than the surrounding metal. This is annoying but I don’t have anything else at-hand. I also don’t think that 3M makes thinner versions of these, at least nothing that I could find at the hardware section.
Conclusion:
This is traumatizing, I don’t want to do this ever again. If ever some asks, I will probably do it only after signing a waver that I won’t be responsible for anything that will happen. Send yours to a trusted repairman to service. Be careful because there are many bogus repairers out there. All you need is a trusted source and you can ask your friends for recommendations. Again, it is foolish for somebody with inadequate skills to attempt this. This is not an easy task and the methods that I showed you isn’t the right way to do this. It is an improvised way, something that I learned from repairing iPhones and watches. This is not a smart phone, this is not a Casio wristwatch!
Thank you for following my work, if you enjoyed this article, please share it with your friends. Every view counts, this site earns about $0.30 day. Thank you very much for supporting this, you are helping me pay for hosting and maintenance. You are also helping me purchase, process and scan film. It’s our passion to shoot film and you are helping the industry survive with me. See you again next time, Ric.
Help Support this Blog:
Maintaining this blog requires money to operate. If you think that this site has helped you or you want to show your support by helping with the site’s upkeep, you can make a small donation to my paypal.com (richardHaw888@gmail.com). Money is not my prime motivation for this blog and I believe that I have enough to run this but you can help me make this site (and the companion facebook page) grow.
Buy me a roll of film or a burger?
Thank you very much for your continued support!
2.00 $
Helping support this site will ensure that this will be kept going as long as I have the time and energy for this. I would appreciate it if you just leave out your name or details like your country’s name or other information so that the donations will totally be anonymous. This is a labor of love and I intend to keep it that way for as long as I can. Ric.

Oct 29, 2020 @ 17:37:12
Glad to hear you are sleeping better and dreaming. Seems that energy is flowing. 🙂
I have already my second D700, bought last year and I’m happy with it. I can pretty imagine that in case of buying a new camera I would again search for same model. 🙂
Oct 31, 2020 @ 03:23:41
Hi there Ric. I had to do this to my D300, you’re right about it being a bit nerve-wracking, I bought a kit off ebay. I agree regarding the D700 image quality, in my view, it’s unique, my D700 has got over 290K on the shutter! Best wishes for the future and keep safe.